WPC Decking Installation Guide

Views: 0     Author: Site Editor     Publish Time: 2022-03-02      Origin: Site


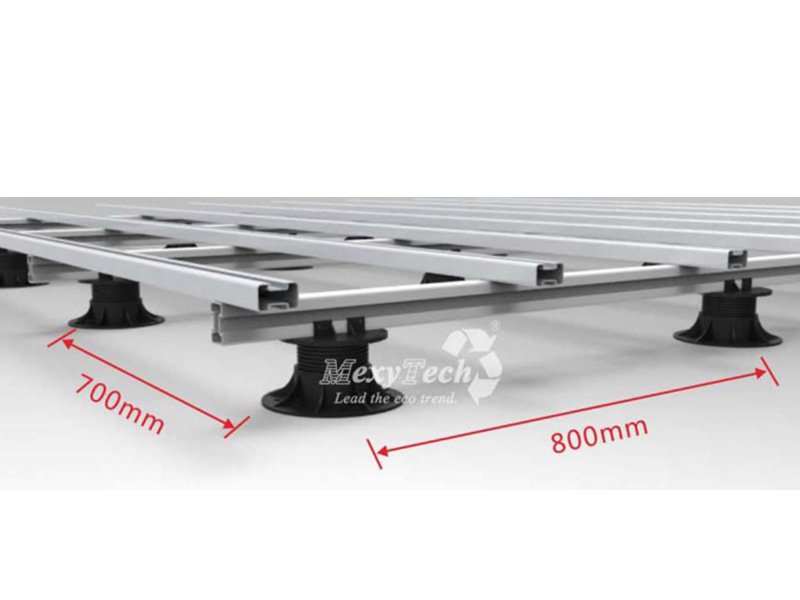
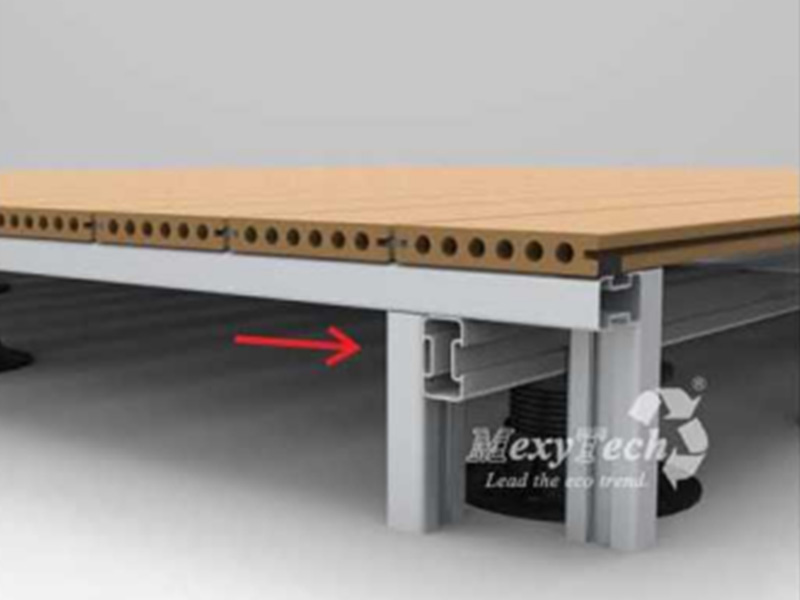
1, Install Aluminum Joist System


①Place the lower joists according to span B, and then place the upper joists according to span A.

model

span A(mm)

span B(mm)

SB03

350

700

ML02

400

OR02

450


Please notice that the upper layer should be installed 13 cm over the lower layer.
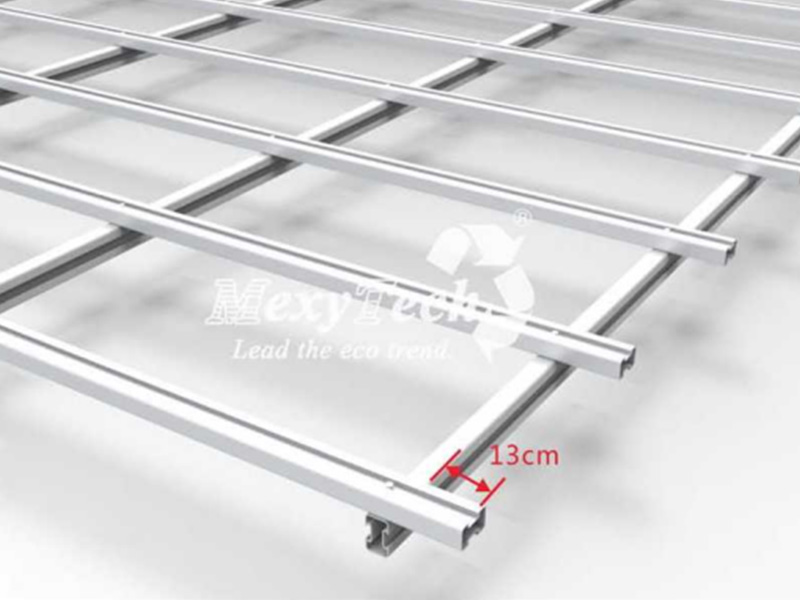
Please-notice-that-the-upper-layer-should-be-installed-13-cm-over-the-lower-layer.


②Fix the upper joists to the lower ones by using screws.
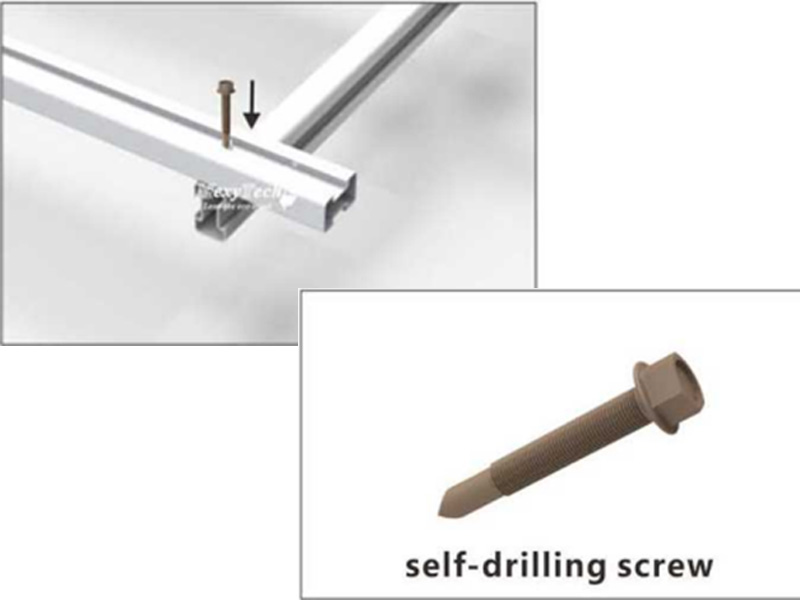
Fix-the-upper-joists-to-the-lower-ones-by-using-screws.


2, Install The Pedestal


Please follow the span shown below.

Please-follow-the-span-shown-below


3, Installing the First Decking Board


When installing the first decking board, fix the side clips onto the joists first.
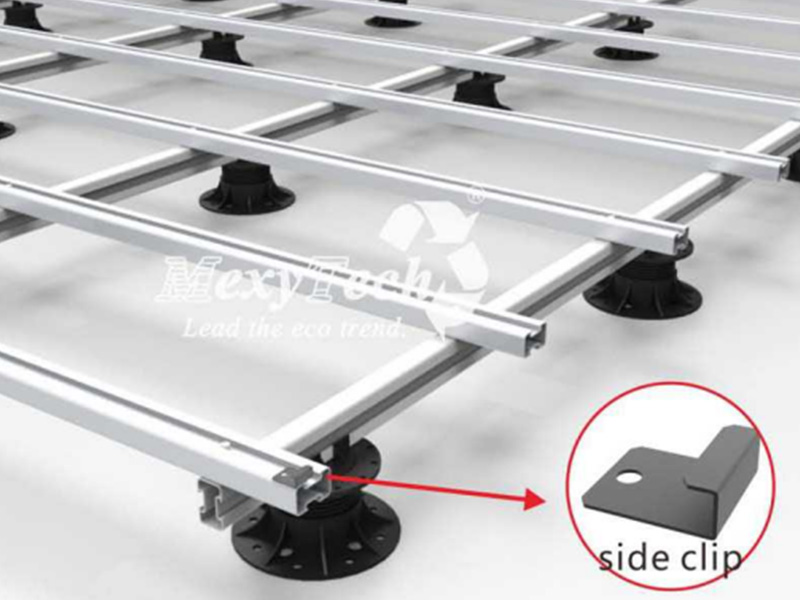
When-installing-the-first-decking-board,-fix-the-side-clips-onto-the-joists-first.


4, Push the Deck Board Tight to the Side Clips


The suggested length for actual application is not longer than 2.75 meters one piece.
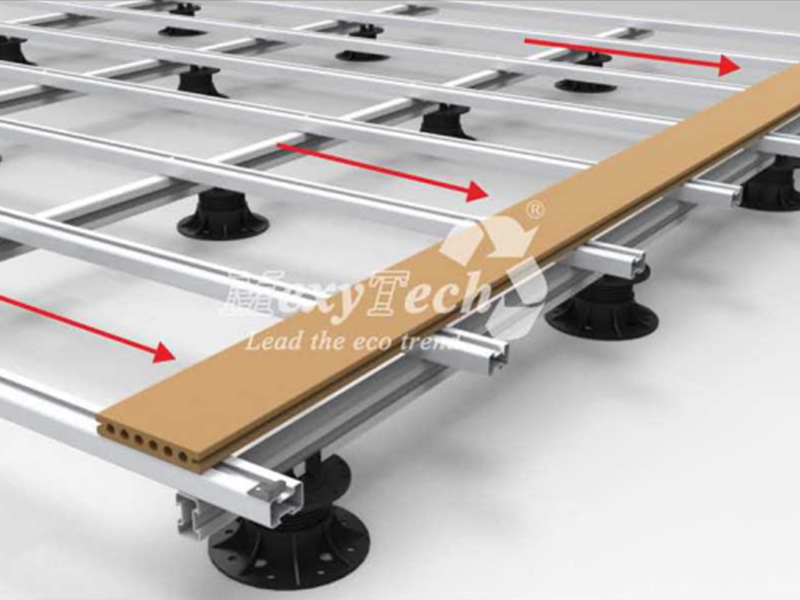
Push-the-Deck-Board-Tight-to-the-Side-Clips


5,

①Put the particular clip with a side hole into the middle of the decking side groove to prevent the shifting of decking boards.
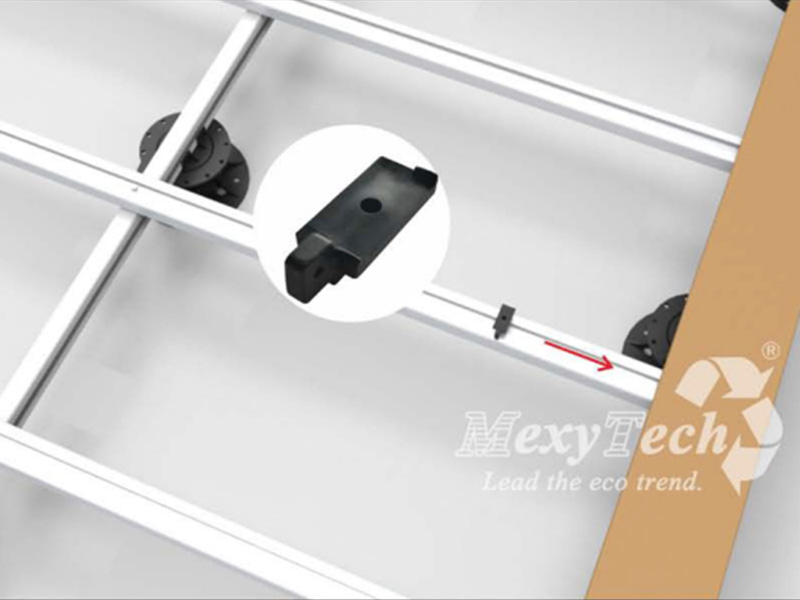
Put-the-particular-clip-with-a-side-hole-into-the-middle-of-the-decking-side-groove-to-prevent-the-shifting-of-decking-boards.


②Make sure the toothed side into the decking groove.
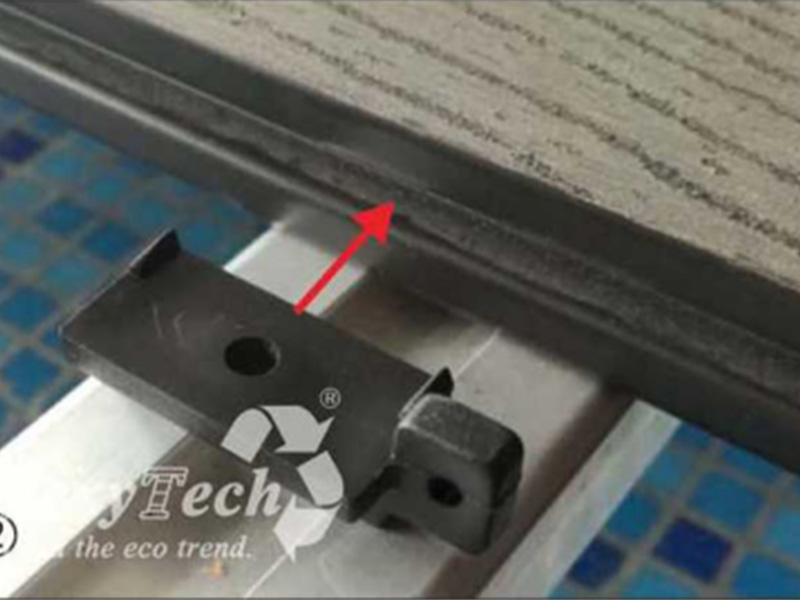
Make-sure-the-toothed-side-into-the-decking-groove.


③Screw through the side hole and fix the clip to the decking board.
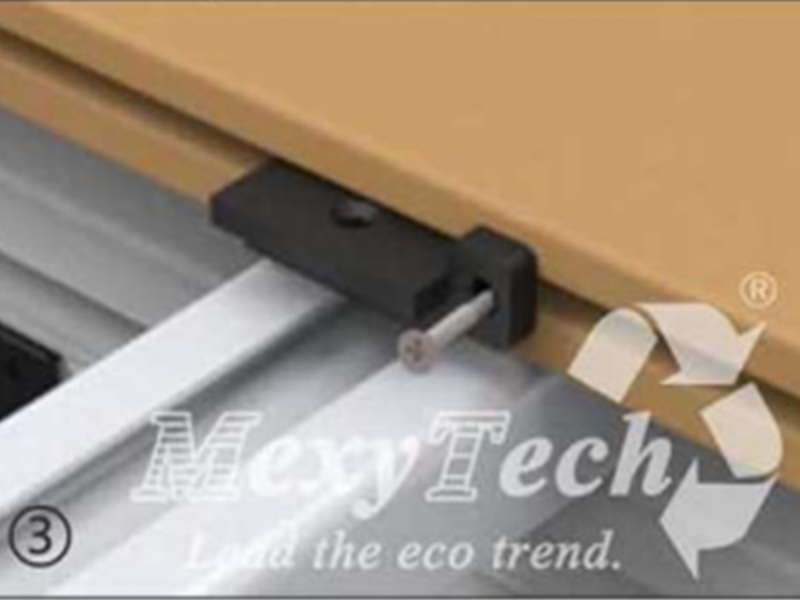
Screw-through-the-side-hole-and-fix-the-clip-to-the-decking-board.


6,

①Put the standard clips for the rest.
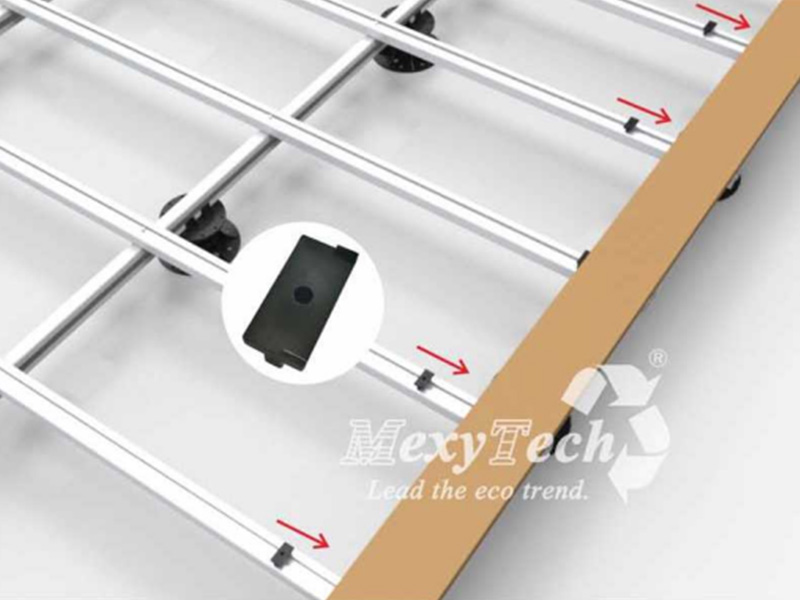
Put-the-standard-clips-for-the-rest.


②Make sure the toothed side to the groove.

Make-sure-the-toothed-side-into-the-decking-groove.


③Fix the decking through the top holes of the clips.
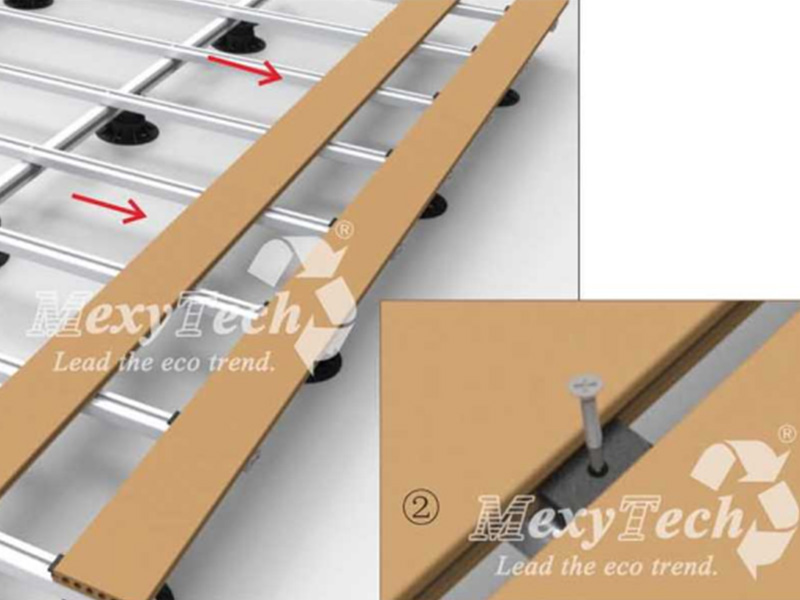
③Fix-the-decking-through-the-top-holes-of-the-clips.


7,

①Slide another board to the clips to the correct position.

②Repeat the steps above for the decking installation.
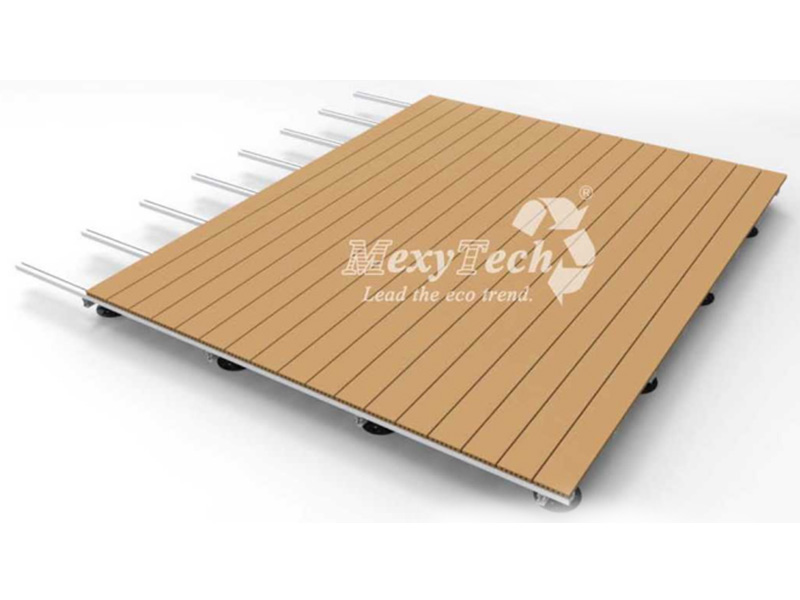
①Slide-another-board-to-the-clips-to-the-correct-position.


8, 

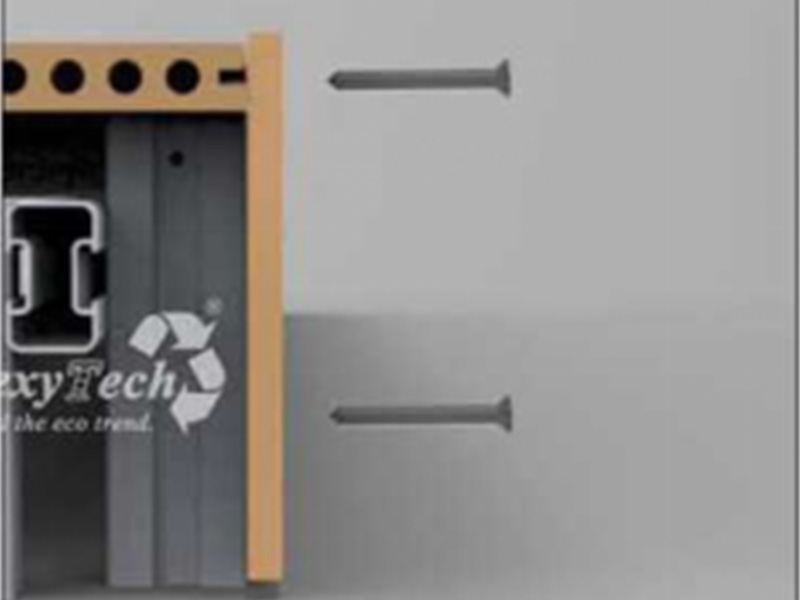
Predrill a hole like a pic shown below and then screw the decking board to the joist.
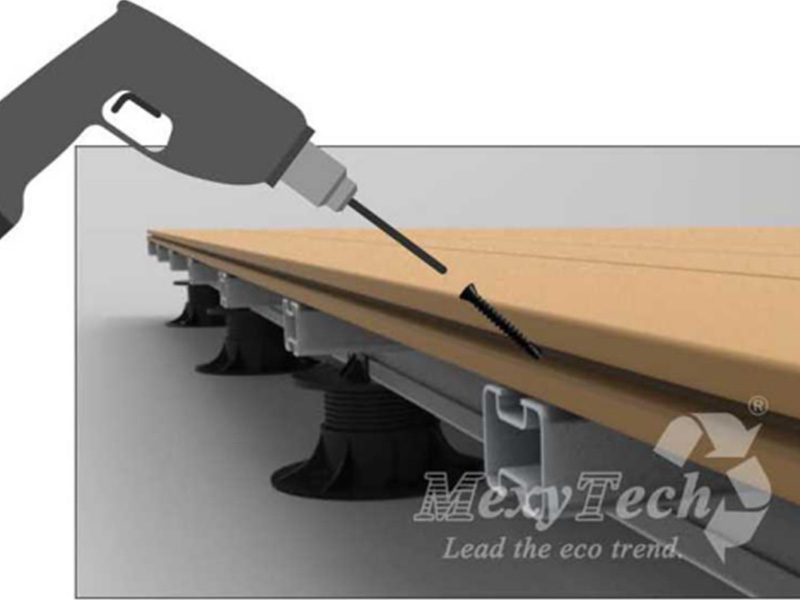
Predrill-a-hole-like-a-pic-shown-below-and-then-screw-the-decking-board-to-the-joist.


Ensure the gap between cross-sections of decking boards is no less than 3 mm.
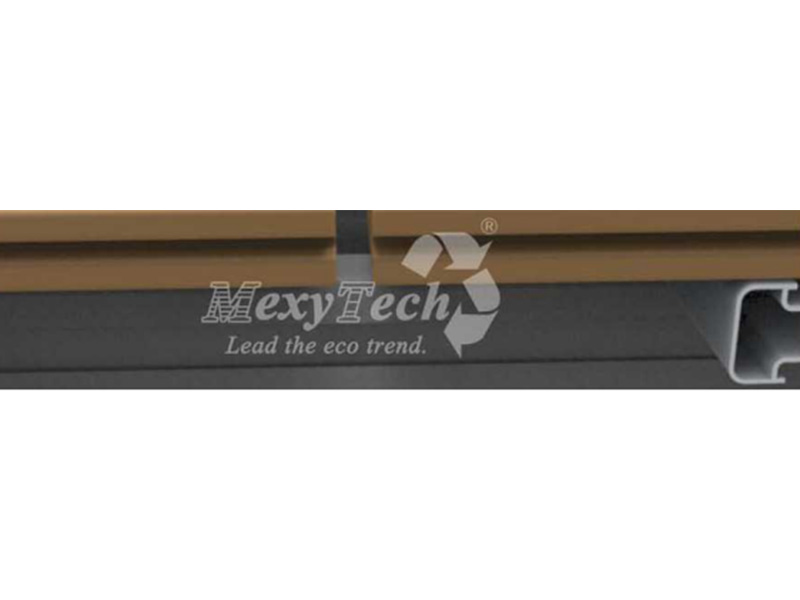
Ensure-the-gap-between-cross-sections-of-decking-boards-is-no-less-than-3-mm.


Make sure 10mm gaps to the walls for the expansion or contract.
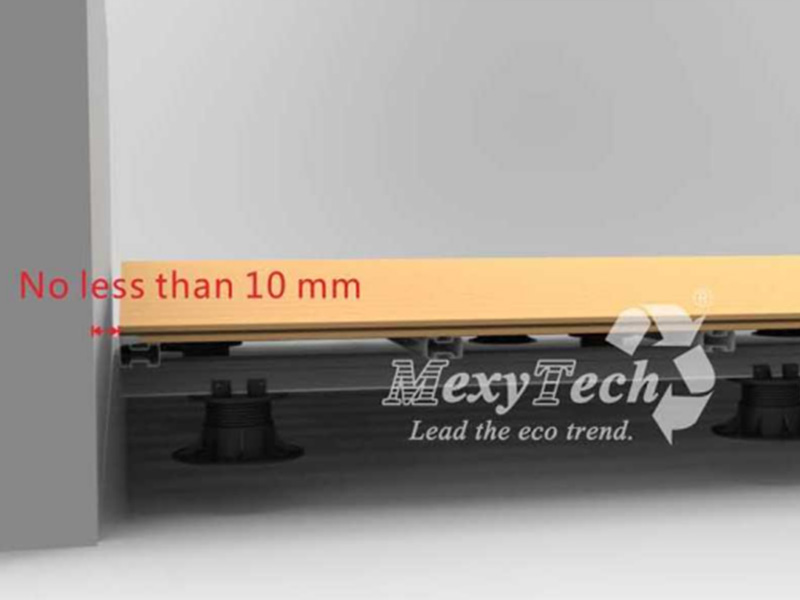
Make-sure-10mm-gaps-to-the-walls-for-the-expansion-or-contract.


9, 

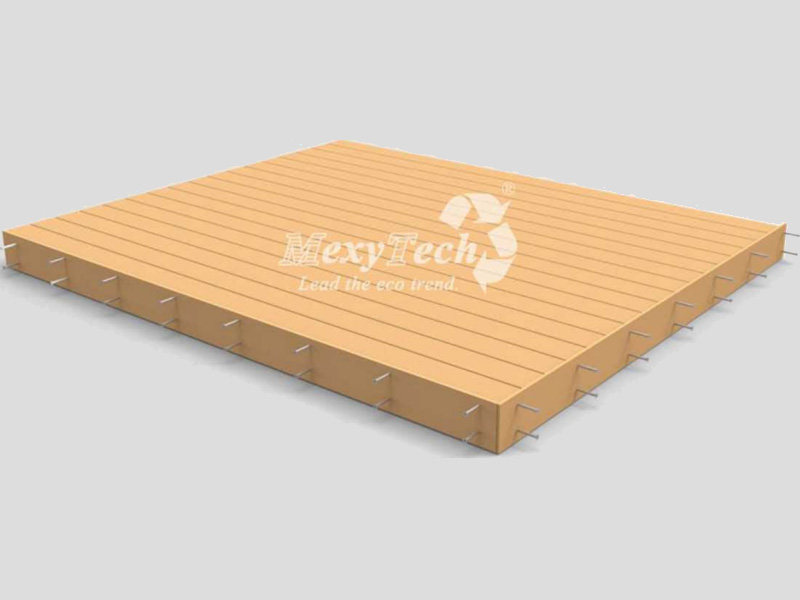
Fix the Fascias

Fix-the-fascias


Fix-the-fascias-2


Install the fascia joists.

Install-the-fascia-joists.


Screw the fascias onto the joists.
Screw-the-fascias-onto-the-joists.


10, The Installation Is Complete.


Our team is always ready to offer advise or answer your questions. Welcome to contact us anytime.


Foshan MexyTech Co., Ltd.

Website: https://www.mexytech.com

Cellphone/WhatsApp/Skype/Wechat: +86-13824532263

Email: info@mexytech.com


Founded in 2009, Foshan MexyTech Co., Ltd is a professional manufacturer engaging in eco-materials.


QUICK LINKS

CONTACT US

 Building B, Torch Park, Jihua 2 Road, Chancheng, Foshan City, Guangdong, China
 
  +86-0757-82131812
     + 86-13427586849
     +86-0757-82727850
 
Leave a Message
Copyrights  2021  Foshan MexyTech Co., Ltd.  Powered by Growthofficer.cn